<< Overview << previous: Day 11
Day 12
Today I show you how I add batting to the Double-faced Hexies, in case you have a project that requires it.
On this page:
♣ Materials and tools today
♣ A note on adding batting or wadding to the hexies
♣ Marking and cutting the batting
♣ Basting/securing the batting
♣ For you to do
♣ Next time
Materials and tools today
- hexagons
- batting/wadding, a piece of flannel or terrycloth
- for batting of a large Hexie: Small Hexie Template (not the Small Flower Hexie Template)
- light coloured felt tip marker (see also Marking and Cutting below)
- glue stick
- sewing thread and needle
- scissors
Click on images for larger view
A note on adding batting or wadding to the hexies
There are no “rules” to this, neither for the materials nor the process. I’ll just show you how I do it.
For myself, I don’t add any batting at all to small hexies, and I find Flower Hexies in general thick enough to do without batting. Regarding the others, that depends very much on the project, as does the material for the batting itself.
Securing the batting
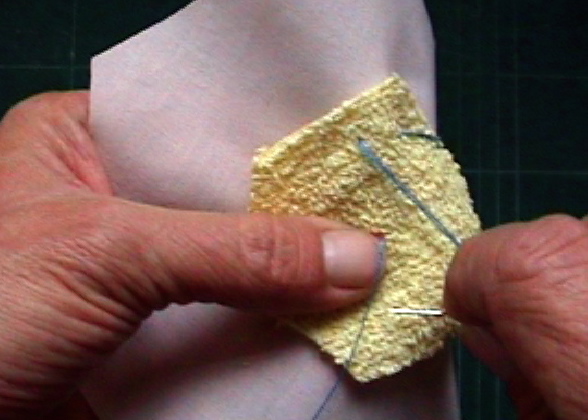
Just adding the batting is not enough for projects that are handled or worn and washed, as the batting might move around. Therefore the batting needs to be secured close to the edge, at least near the corners.
For this you’ve got a choice of possibilities:
- Invisibly = while doing some embroidery on the front by catching a bit of the batting at several points.
- Visibly = on the reverse side, with embroidery or sewing thread. Especially the Plain and Half Hexies can be quilted through all layers.
- If you want to secure the batting only on the reverse side, you can do that before you fold or sew the hexie or afterwards, when it’s finished.
Marking and cutting the batting
There’s one thing cotton, wool or polyester batting and terrycloth have in common: It’s a bit difficult to mark them.
Fortunately batting is malleable and quite forgiving as far as precision is concerned 😉
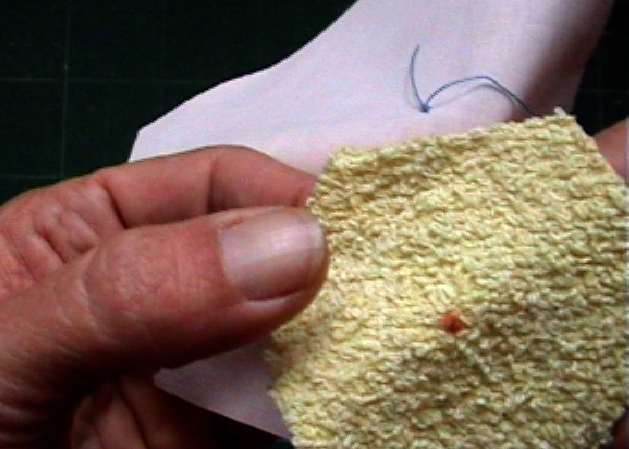
The batting needs to be a bit smaller than the hexie, else it may not lie flat; about 3mm // 1/8 inch less is fine unless your batting is really thick.
I mark it with a felt tip marker – when using a washable one, test that first. Some marker dyes and some fabrics really like each other… Also, when your fabrics are light and rather thin, dark or intense colours may shine through.
Basting/securing the batting
For you to do
From “plenty” to “nothing” – as you like:
“Nothing” consists in bookmarking this page for further reference 😉
“Plenty” could consist in taking for instance a couple each of the Pinwheel Hexies, Plain Hexies and Half Hexies, the same type of batting for all, and then testing whether you prefer securing the batting in advance to making the hexie or afterwards.
At the same time you can try out the different ways of securing them.
Next time
My review revealed that the content could do with a different organisation or structure. Therefore the rest of this workshop/tutorial will be in form of mini-posts.
If you have any questions, please post them in the comments 🙂
Maria


