I should have listened to Spike Milligan … but I did make plans, and they did go wrong …
After I spent most of today learning what can go wrong when filming and editing a few video clips (why didn’t that happen when I was testing everything a few days ago ???), I made the consecutive executive decision to upload a series of photos instead, with a few explanations.
I hope you get the idea.
If you have any questions, please post them as a comment below.
Click on images for larger size
We need: a hard, smooth working surface *** a piece of fabric *** a template *** a marking pen or pencil (and perhaps a sharpener) *** pins *** sewing needle with thread that goes with the fabric (I used a contrasting thread so you can see better what I’m doing) *** scissors
Cutting a piece a bit larger than the template
I sharpen my coloured pencils right before I use them – with a sharpener for thick (!) pencils…
… see the difference – the tip of the green pencil is much sturdier than the orange one
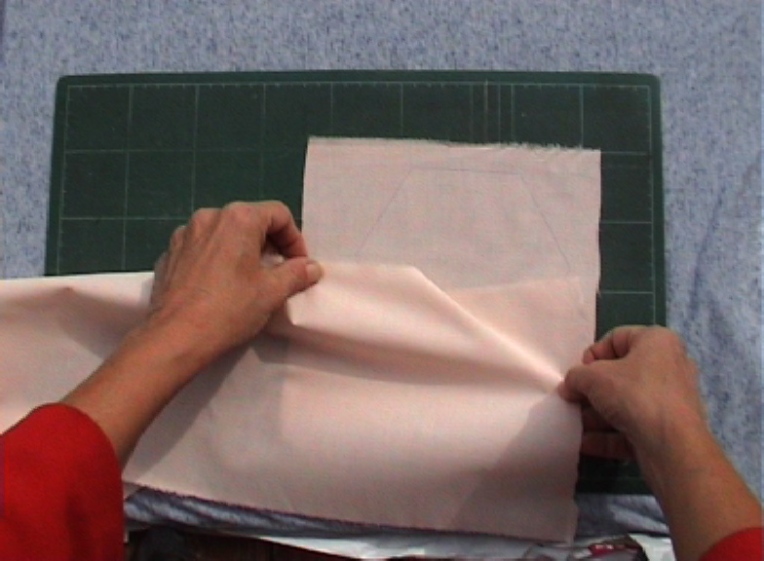
In case the fabric has a right and a wrong side, place it wrong side up.
I hold the template down, then trace along the inside edge, going back and forth for a more visible line
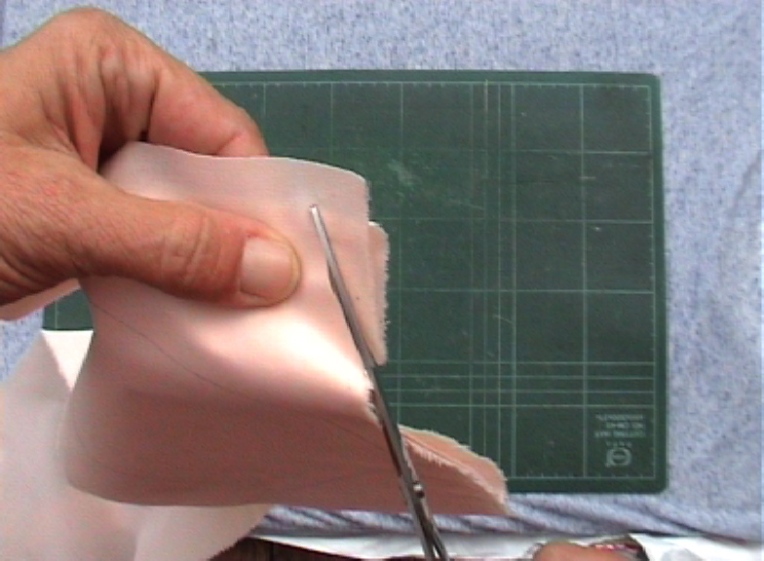
For cutting one hexie at a time: Cutting right on the line. What you can’t see: I rest the scissors on my fingers underneath the fabric. This helps to keep the scissors perpendicular to the fabric.
Before I cut the last bit, I hold on to the piece that will fall away. Else this last cut might turn out curvy.
For cutting multiple hexies: I trace a hexie on one scrap of fabric. From this I take measure for folding my fabric for more (here: three) layers – but if you have different scraps already cut, you can just stack them as they are.
Here you see the folds.
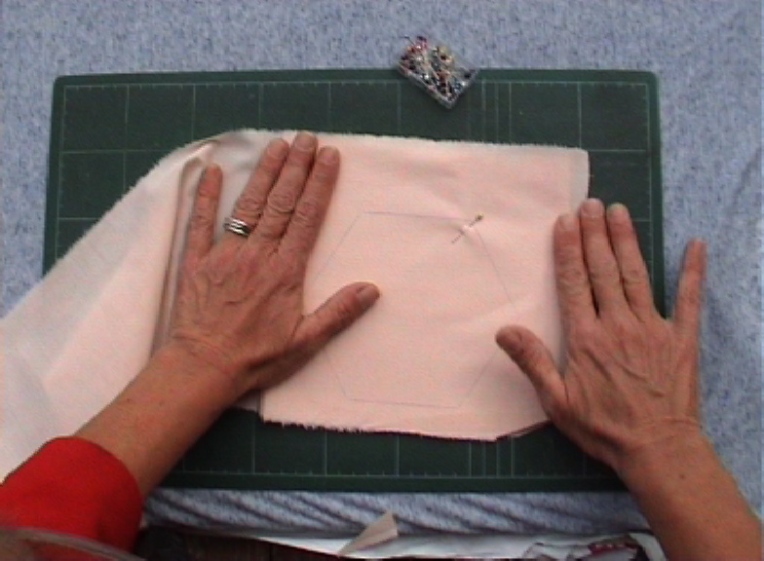
I put the traced piece on top, then check all layers to make sure I get complete hexies.
I test whether I can easily cut through all layers. How many layers depends on the fabric and the scissors – with thin fabric and good scissors you might cut 6 layers at once.
I smoothen the layers.
I insert a pin inside the hexie, near a corner. The pin goes in vertically, through all layers until it touches the worksurface. Then I lift the layers upwards, pushing them onto the pin. The idea is to keep the layers from shifting.
Then I come up again through all layers and smoothen the fabric.
The second pin …
… smoothening … and so on: pin, smoothen …
All pins are in.
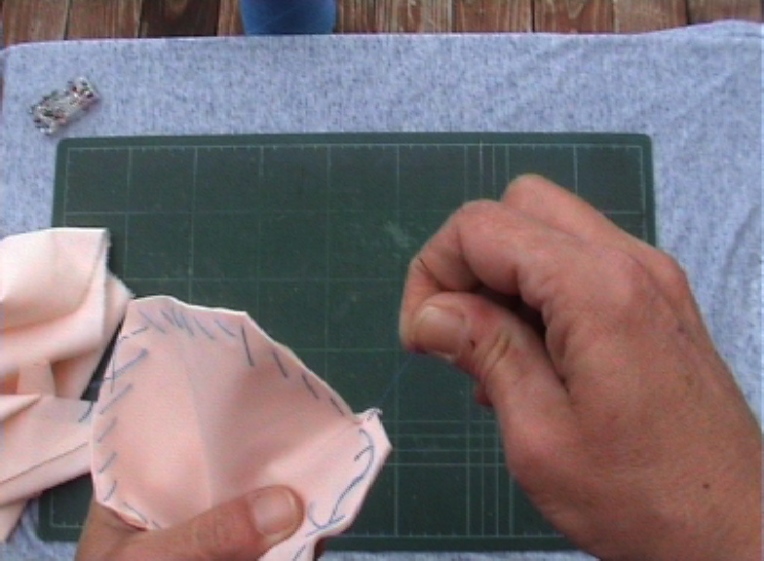
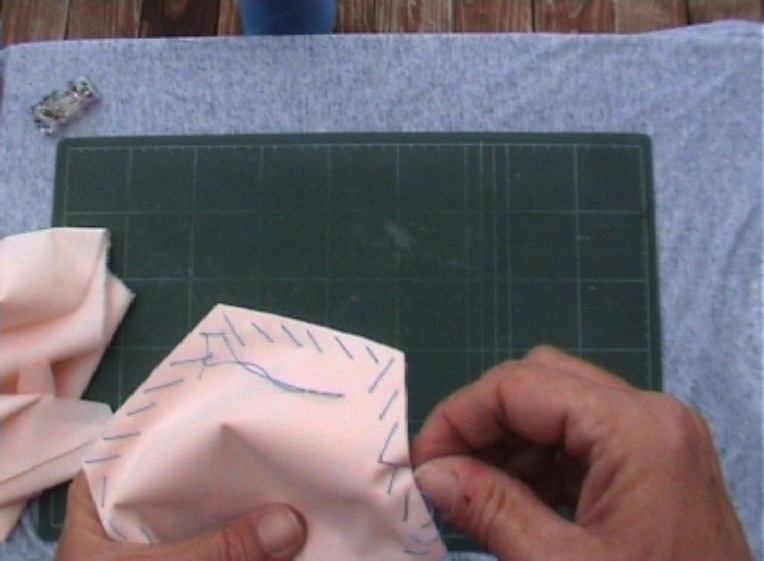
I begin basting – very close to the edge (3mm – 1/8 inch) – with short stitches in order to keep the layers from moving. How long the stitches are and how many you need depends on the thickness of the fabric (and layers in total), but mostly on how slippery the fabric is.
Holding the fabric down while pulling the thread.
Leaving a short tail – no knot necessary.
The first two stitches. I hope you can see that they’re kind of zig-zaggy – this keeps the layers better in place than a plain running stitch.
Using a thimble.
Finished with basting. I needed another piece of thread.
Cutting the whole stack. The scissors must be perpendicular = upright, else the hexies won’t be the same size. For your projects, you can cut several stacks of hexies in advance. Keep the basting threads in until you need a hexie from that stack. The rest can remain safely in a folder or box.
“Just pulling it out” is NOT how to remove the basting thread! We don’t want more creases than necessary…
I remove the basting thread with a pin, pulling it out every two stitches.
Even better for avoiding creases is to hold the stack down while pulling out the threads.
Tadaah! 4 hexies 🙂
My stomach is reminding me that it’s almost time for dinner and I haven’t had lunch yet – I’ll be back in a little while with How to make a Trefoil Hexie.